How to Verify your Hostinger Domain with Google search Console
Steps for the Hostinger Domain Verification with Google Search Console
Create a Google Search Console account.
- Go to Google chrome and type – Google Search Console (https://search.google.com/search-console)
- If you already have a Google account, sign in with your existing login details. If not, click on “Start now” to create a Google account.

- After logged-in, click the “Add Property” button on the Google Search Console dashboard.
- A pop-up window will appears including 2 sections : Domain OR URL.
- Enter your Hostinger domain (e.g., if your website url is https://sitexdigital.com/ then you have to write sitexdigital.com in the provided text field.
- Click Continue button.
- Google will display you with several verification methods. For Hostinger domains, it’s recommended to use the “Domain” method, which involves adding a DNS TXT record.
- Copy that DNX TXT record that is require for the DNS settings for the verification.

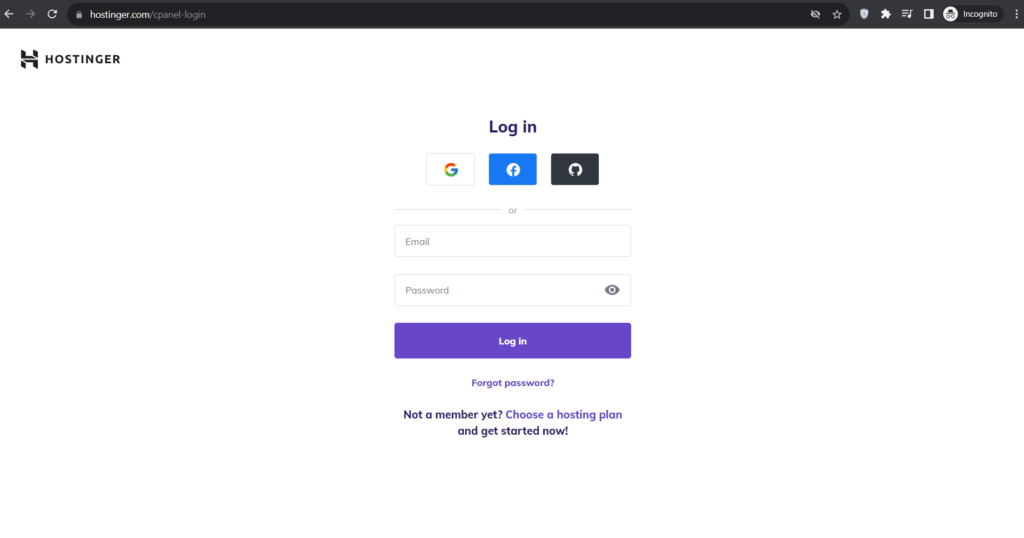
- Open Your Domain Server website from where you have purchased your domain (eg. Godaddy, Hostinger). Reference to direct URL: https://www.hostinger.in/cpanel-login
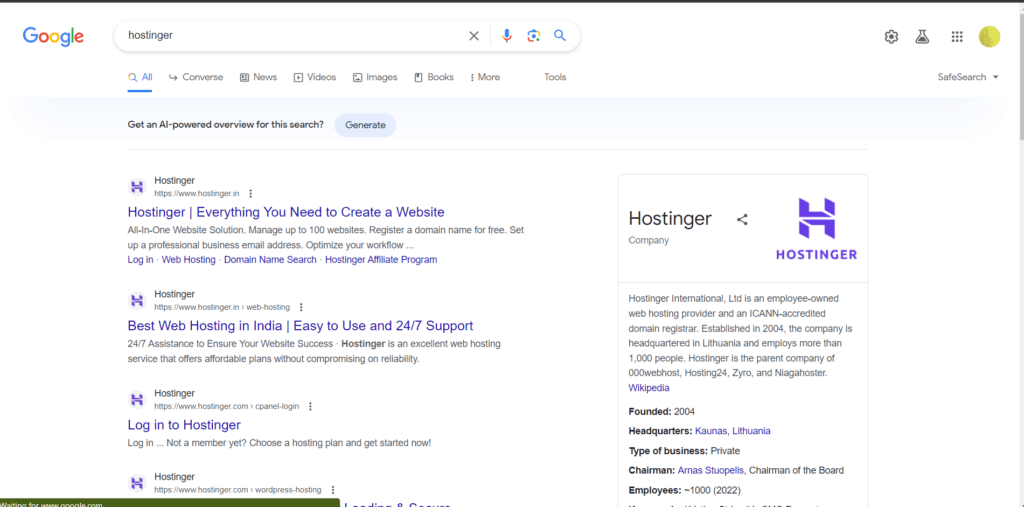
- Type Hostinger on google chrome browser.
- Click on Log in to Hostinger where URL address has cpanel-login.
- Sign-in with Gmail id if you earlier logged-in with the social login else type your email-id and password if you have signed-up/ created an account and click on Log-in button.
- Log-in with your Gmail mail id which is connected to your website/ Blog page.
- After clicking on Log-in button, It will redirect to a new window asking about your country.
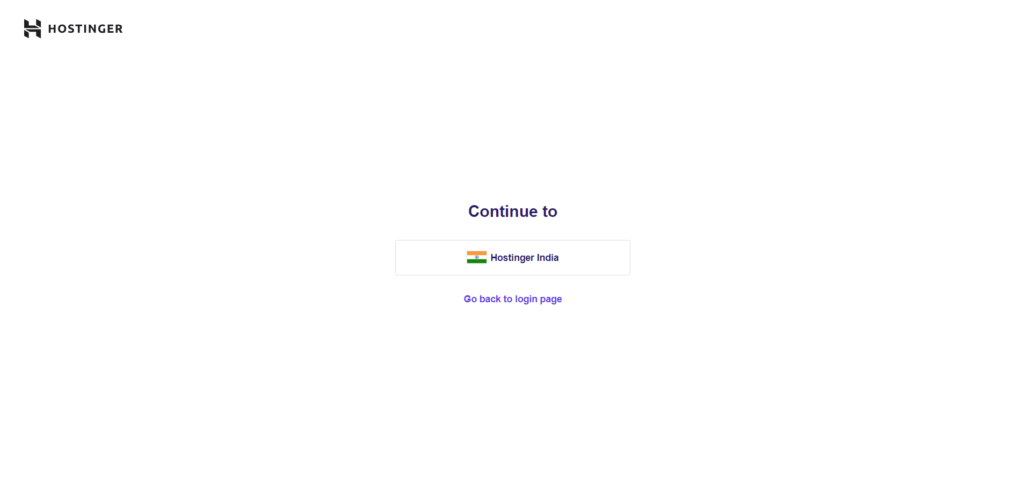
- Click on Hostinger India and new window will appear if you have set it for Two-Factor Authentication. If not,
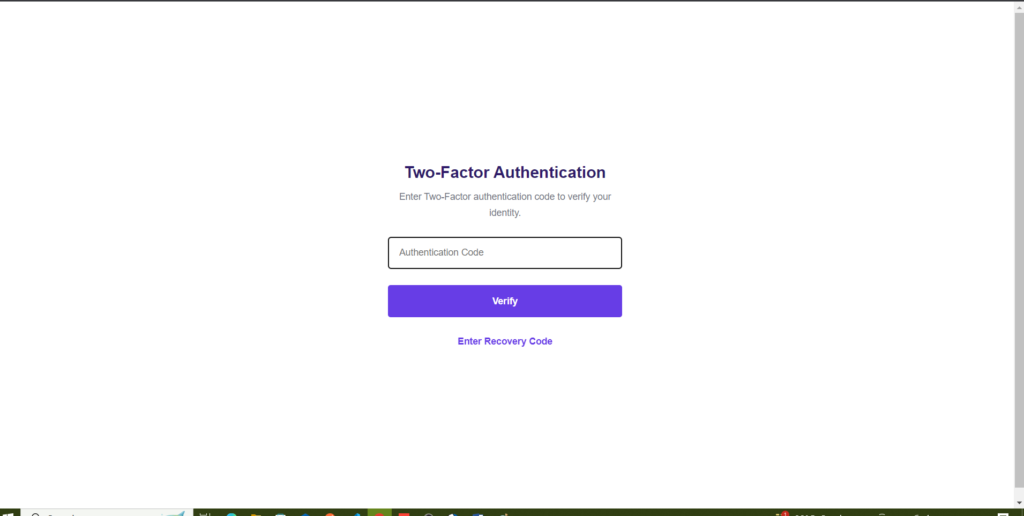
- Type the Authentication code from your Authenticator app.
- After clicking on the button, it will logged you –in hostinger admin panel.
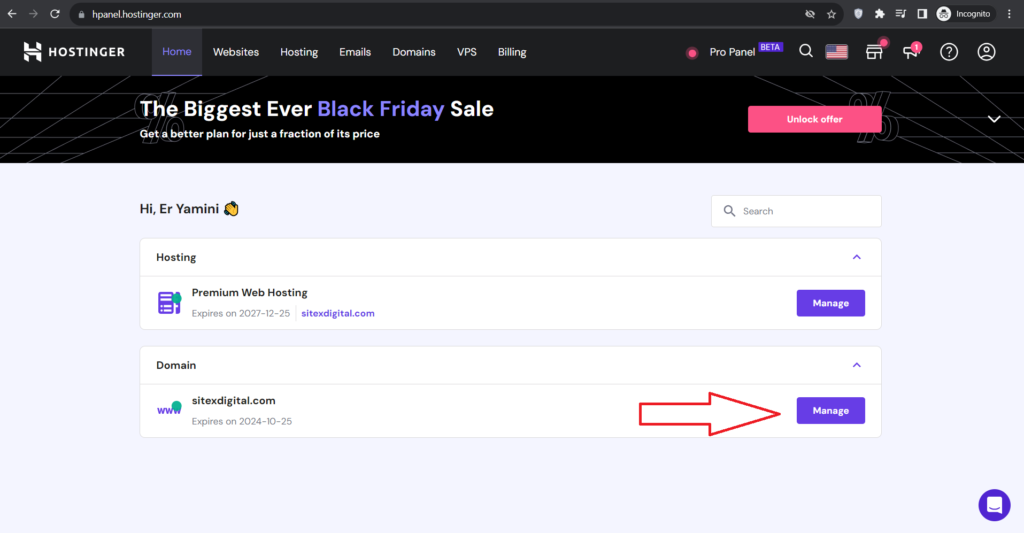
- Click on the Manage button under the domain section and new window will appear.
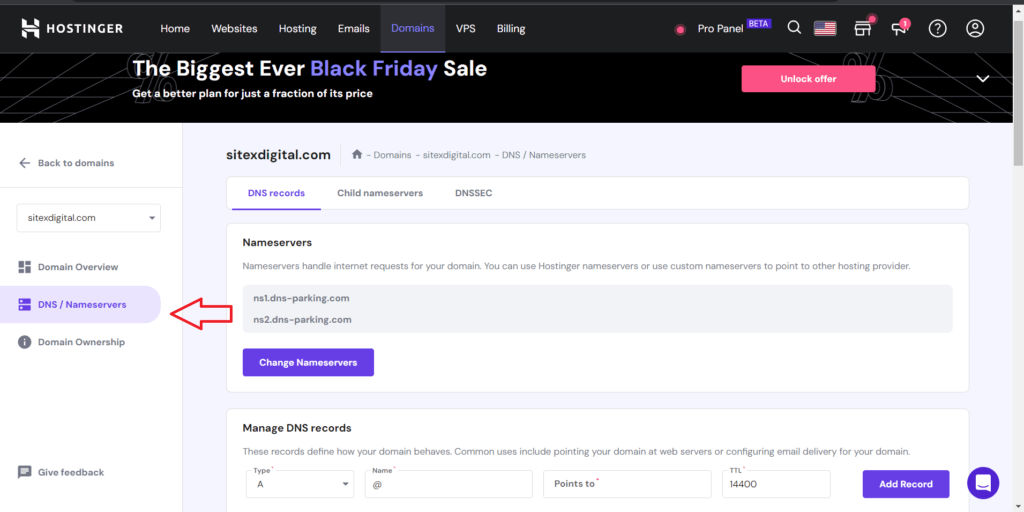
- Click on the DNS/ Nameservers on the left section and this content will display.
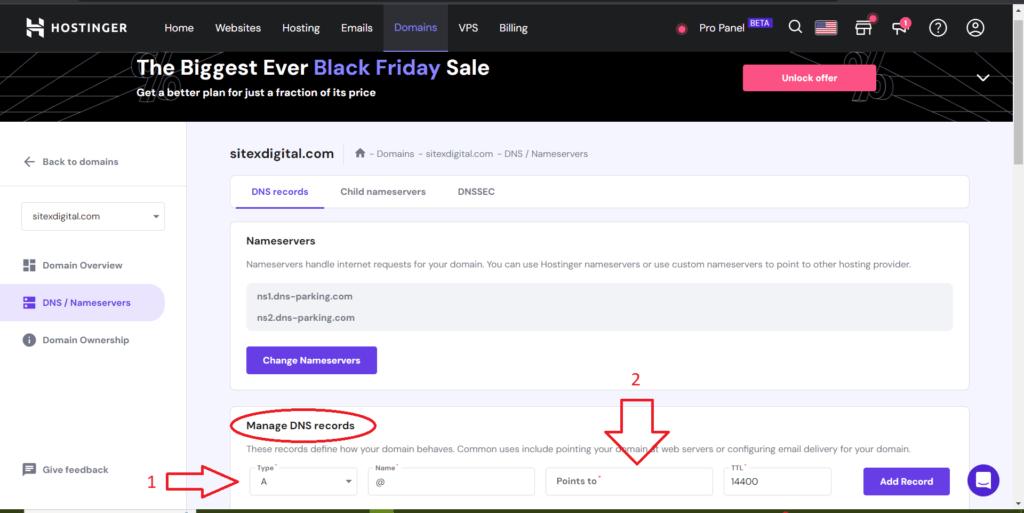
- Now under Manage DNS records, click on Type and select “TXT” and Paste your Google console code which you have copied in the “Points to” field. See image for reference.
- Click on Add record button.
- Record has been added and you can track it from the below list.
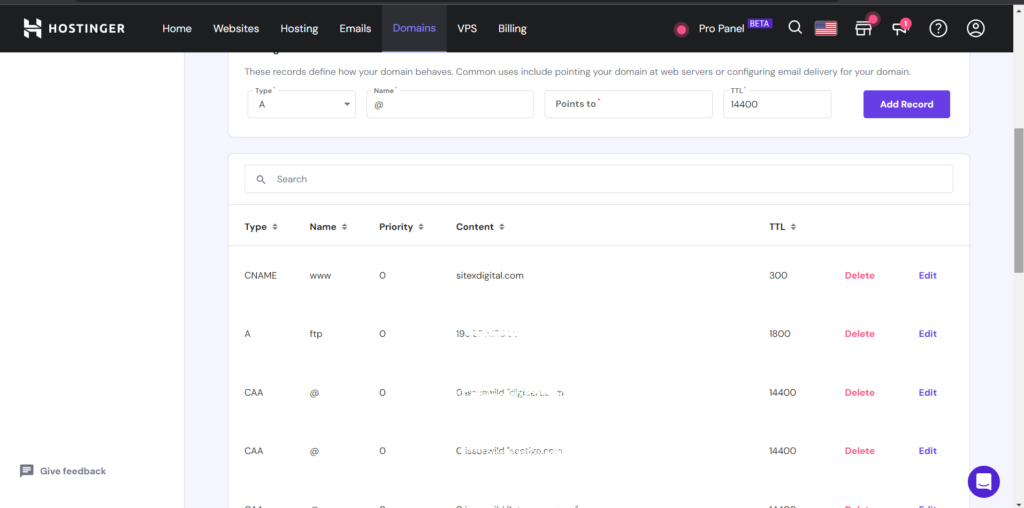
- You can check your copied google-site code under the content column.
- Now, go back to your google search console window from where you copied the TXT record code.
- Click on the Verify button to verify the domain. Google will check the DNS records for your entered domain.
- If everything is set-up correctly, Google will display the message of confirmation.
- Prompt message will appear “Domain is verified”.
- To help Google index your website, consider submitting a sitemap through Google Search Console. This will ensure that your website’s content is crawled and indexed by Google.
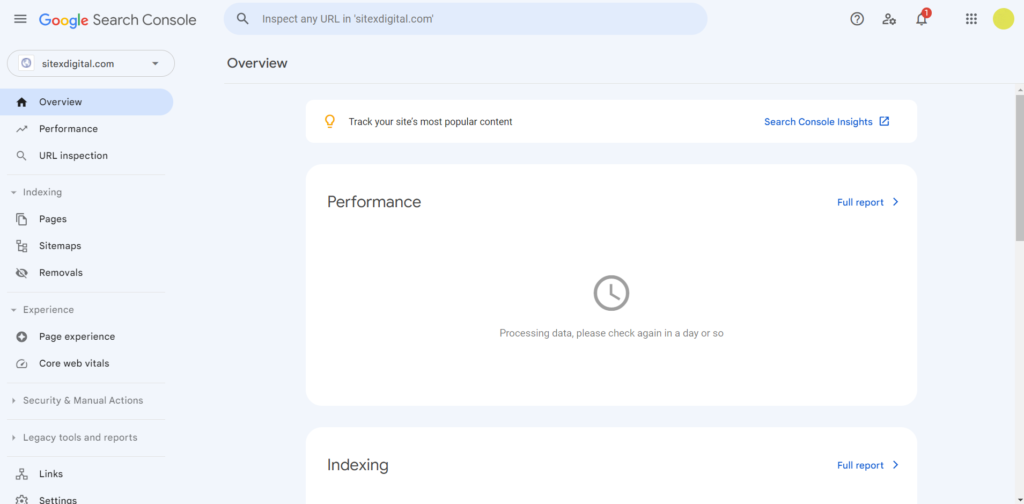
- After Logged-in, Google Search Console dashboard will open.
- To check whether it is correct or not, check your website/ Blog name on the left top.
Latest Posts
- Best Travel Size of Seven Minerals Magnesium Oil Pure
- Otlonpe Rose Flower Gifts for Woman – #1 Best seller
- Cleverfy Shower Steamers Aromatherapy – Best Mother’s Day Gifts
- Ceramic Jewelry Tray with Ring Dish for Mother, Sister, and Friends – #1 Best seller
- Best Aromatherapy Body Restore Shower Steamers – #1 on Amazon